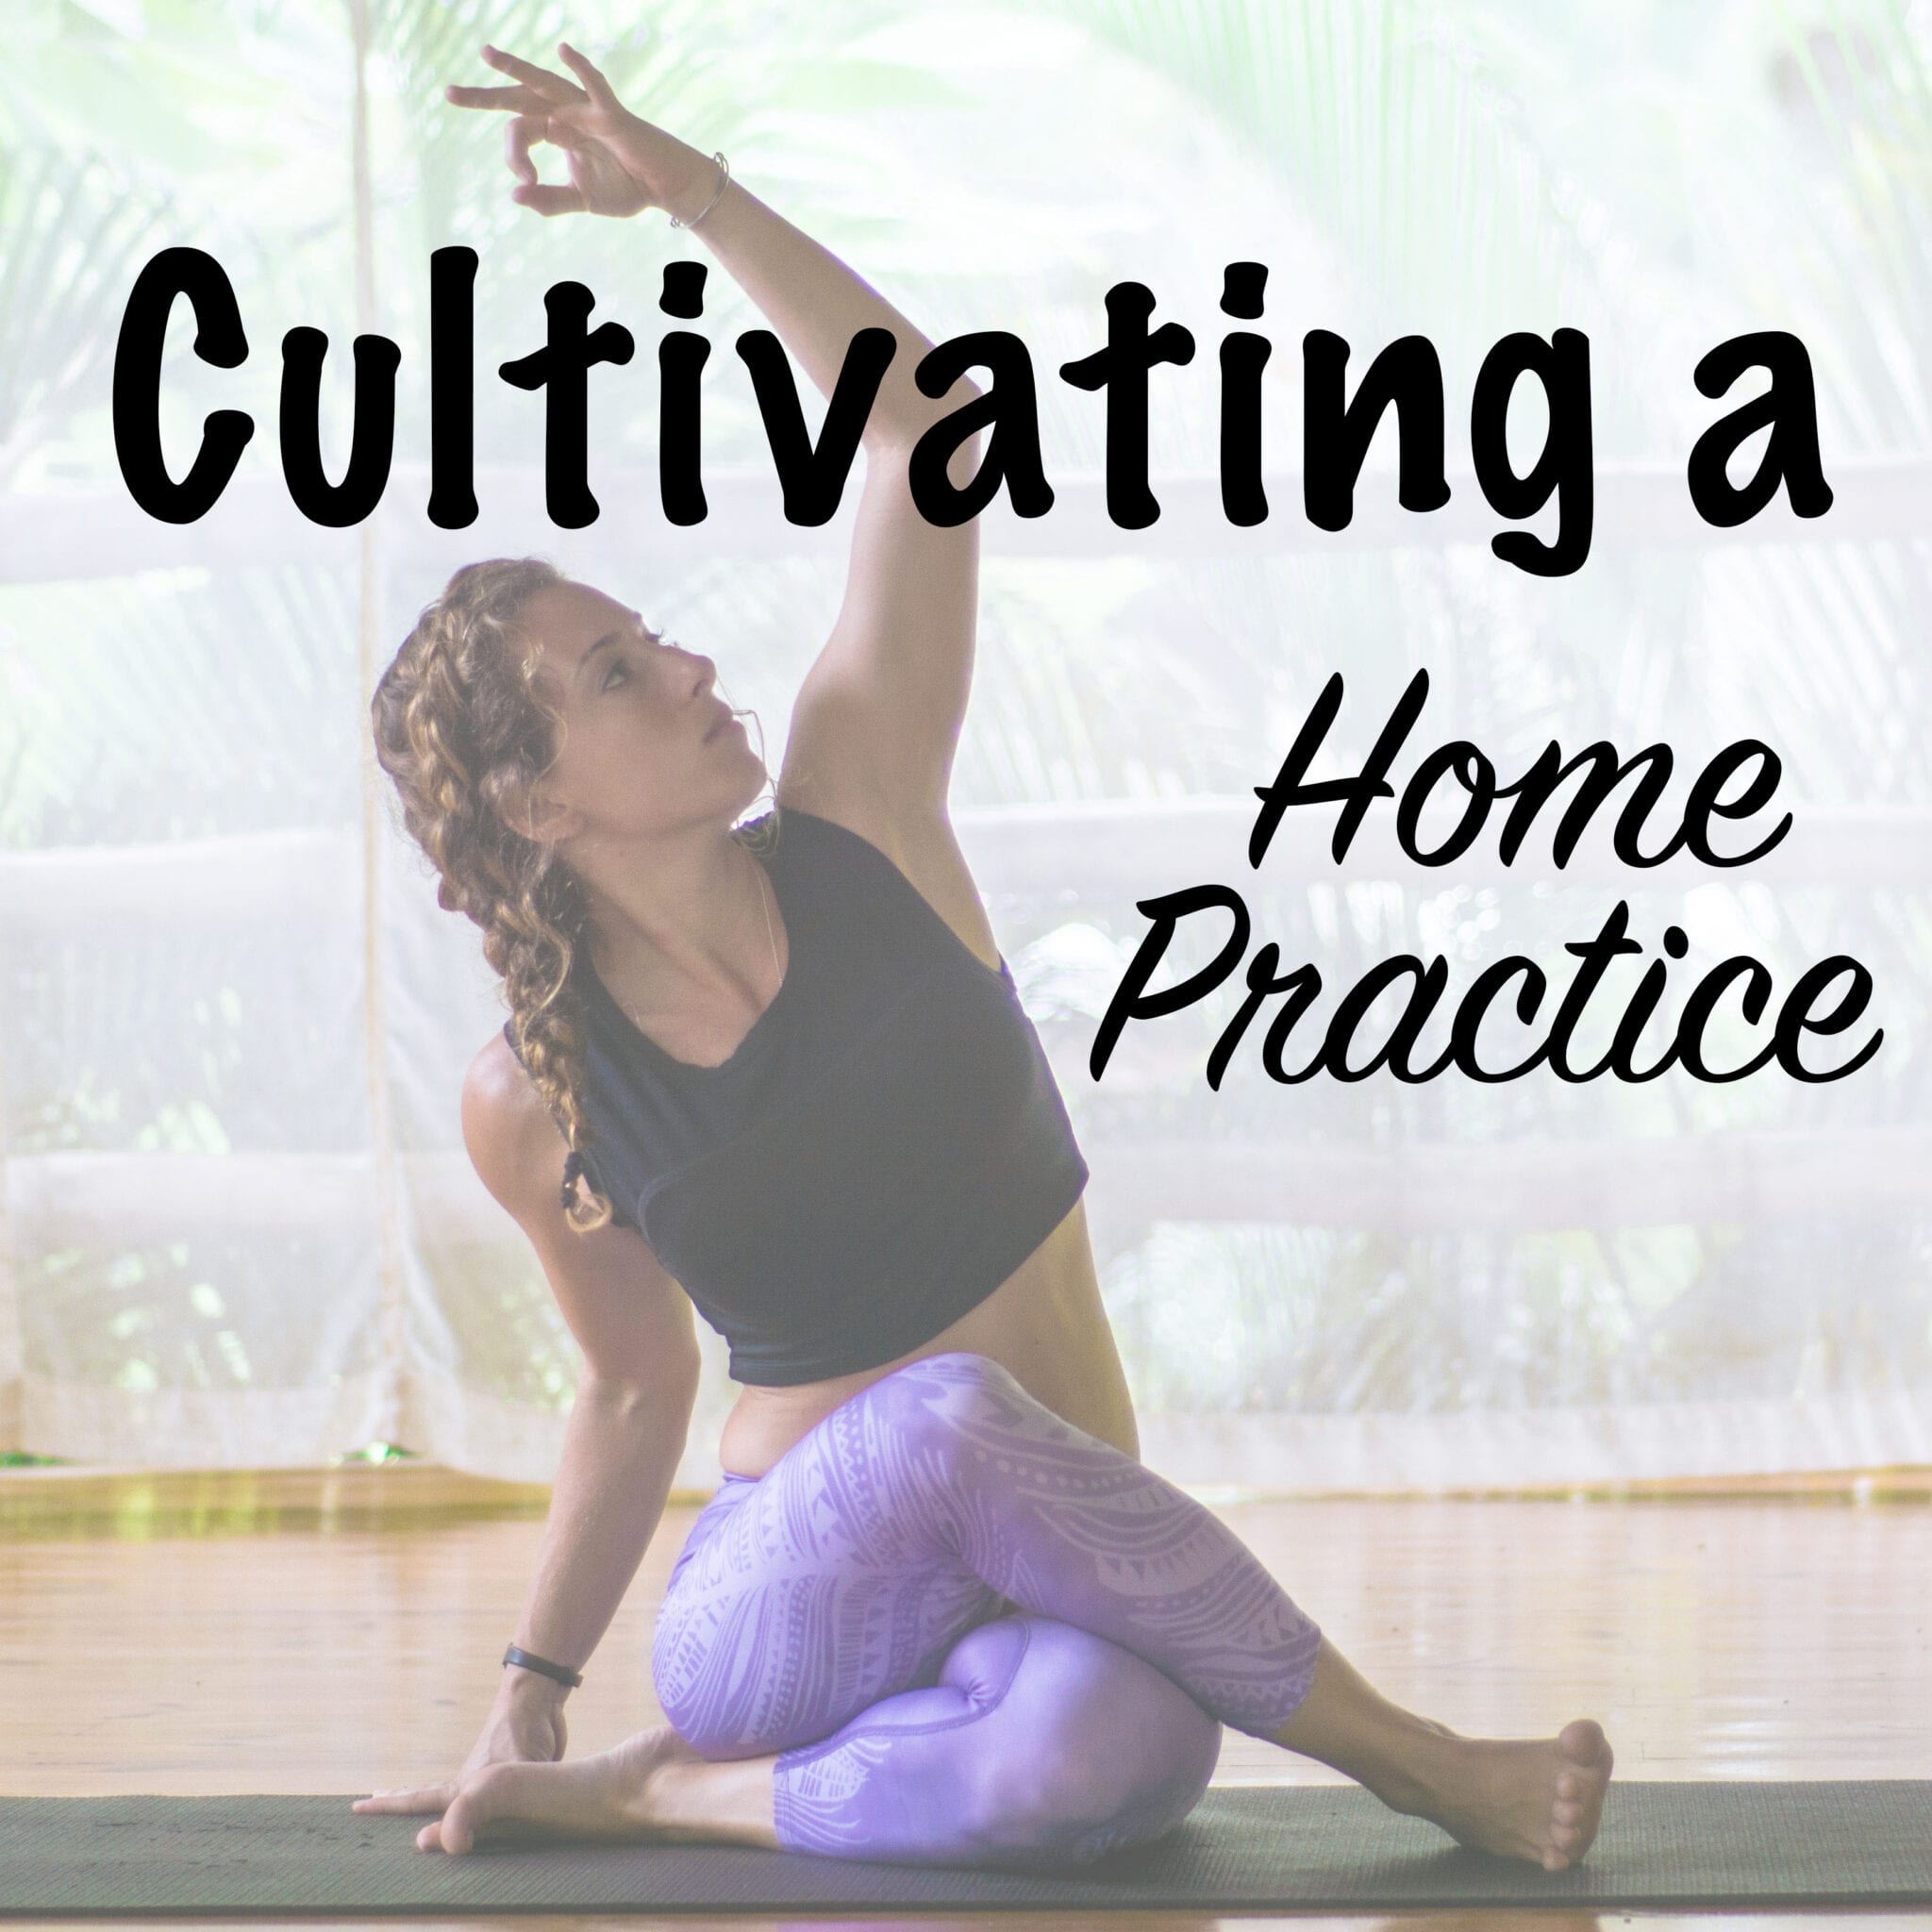
Say the word “yoga” in conversation, and you tend to evoke imagery of lycra-clad (or barely-clad) stretch-fanatics, moving and flowing in a spacious, airy studio that smells distinctly of essential oils. The yoga industry caters to an ever-growing crowd of over 37 million North Americans, many of whom were introduced to yoga in a studio setting, or via group classes at a local fitness facility. Enrolling in group classes at a studio, gym, or communal facility is an amazing way to not only further delve into your practice, but also to integrate yourself within a pocket of your local community. Layer in the guidance and knowledge of an educated teacher, and an element of surprise and personal non-attachment when it comes to creating the sequence to guide classes, and you’ve got an ideal environment to grow your yoga practice. Eventually, however, you may find yourself noticing that some days, your body is calling out for something different than the sequence is built upon. And some days, the idea of being alone with your mat instead of surrounded by others, will resonate with you. As these “some days” meld into “many days,” you may find yourself contemplating alternatives to the seemingly traditional studio practice setting and begin your own home practice.
So…where to next?

Getting back to yogic roots
Although we frequently associate yoga with group practice, look back on traditional texts (e.g. Hatha Pradipika, Chapter 1, Verse 12) and you will discover that Hatha yoga (the most commonly-practiced form of yoga in North America, which encompasses a variety of asana-based practice types) was originally meant to be practiced in solitude:
“The hatha yogi should live alone in a hermitage and practise in a place the length of a boy (one and a half metres), where there is no hazard from rocks, fire, or water, and which is in a well-administered and virtuous kingdom (nation or town) where good alms can be easily attained.”
Now, let’s bear in mind the fact that this text came to fruition during a time when a yogi’s life was divided into four stages, or ashrama, three of which were characterized by significant lack of social interaction and solitude.
As we’ve evolved, so has the setting and style of our personal practice. I’m not one to endorse only practicing in a confined space on a mud-ground with no views of the outside world (but hey, if that’s your jam, go for it!) Approach the development of your personal practice with yogic principle; slowly, mindfully, and with an intention to be open as you adapt and grow.
1. Create a space
I used to be one of the classic eye-rolling non-believers when it came to understanding the importance of setting intentions and allowing time to create an energetic space in which to conduct your practice. New-agey? Perhaps. Valid? For me, definitely. For you, maybe not, but before you quickly skip to the more concrete and tangible instructions below, give this a shot.
Establish a spot to practice that doesn’t stress you out. We tend to associate physical locations with memories or habits of repeated actions, so try and find a space that speaks to you in a soothing, calm voice as opposed to one that screeches in high-pitch. Add in what you need to make yourself feel at ease; essential oils, incense, props, music. Make this space your own, customize it for what you need in that moment to help cultivate sukham and feel at ease.
2. Build a foundation
Taking ownership over your practice is an empowering but also overwhelming step in the always-continuous yogic journey. Keep the steps manageable by developing a framework upon which you add, subtract, and modify as you become more comfortable guiding your home practice.
- Start with a short meditation, five minutes is plenty to start. Scan your physical body, notice what feelings come up, and take time to establish the link between your moving parts and your moving mind.
- Move on to breath work (pranayama). In a traditional yoga practice, pranayama is its own dedicated practice, and can take upwards of 30 minutes. Bear in mind that breath work is difficult, and if done incorrectly or without awareness can cause harm to your body. For that reason, start by simply working to lengthen your inhales and exhales, focusing on breathing into specific parts of your body where you’d like to create a sense of softness or spaciousness. As you become increasingly comfortable with breath work, begin to research and incorporate different techniques. My suggestion is to journal afterwards, and identify which techniques resonate with you, and the mental and physical responses that are generated as a result.
- Work on joint mobility next. Bring some movement into the main joints (neck/shoulders, wrists, elbows, hips, knees, ankles), and spend extra time exploring areas that feel as though they need more acute attention at that point in time. Experiment with new ranges of motion, load bearing and non-load bearing exercises, and gradually incorporate greater complexity into your joint warm-ups.
- Build heat. Begin to incorporate more activity and movement into your practice. Traditional yoga methodology will tell you to launch into sun salutations, vinyasas, etc. These are great options, but they’re not the only ones. Long holds in strength-building postures such as Ashta Chandrasana (high crescent lunge), or dynamic squats can build heat equally as effectively as faster-paced flows. Experiment and ensure that you balance right to left side with respect to sequencing and breath hold times.
- Challenge balance. After cultivating strength and heat, work on understanding the balance between the physical stability and your inner balance. Base your foundation in simplicity, and eventually move towards more complex, balance-oriented asanas or movement patters.
- Cool down. This portion of your self-practice can mean so many different things, depending primarily on the selected theme of focus the active portion of your practice. Try to counterbalance whichever parts of your body were recruited, and give them an opportunity to soak in breath and a bit of extra length and space. Use the cool down as an opportunity to begin reconnecting with how you’re feeling, what’s changed, what hasn’t, and any thoughts that arose during the process.
- Choose a closing shape for your practice. Seated, side-lying, prone, or in good old fashioned savasana. Before you come into whatever final shape you choose, take a few moments to ask your body what it wants. This is an opportunity to open a dialogue and further distance yourself from taking the general “autopilot” option.
3. State your focus
I’m a big proponent of focusing your practice around a theme, as was alluded to in the second section here. Working with an anatomical, spiritual, seasonal, or energetic point of focus on which to build and structure your practice brings an element of cohesiveness onto your mat, and provides you with an opportunity to better understand how your self-practice is an opportunity for holistic connection.
Allow your focus to fluctuate with your mood, your situation, and anything else that you feel makes sense for you in that time frame. Journaling and documenting your sequence is a very cool way to look back on how your practice evolves, and remind yourself of aspects that worked well, and also those things you tried that might not have had the intended effect.
4. Leave a little wiggle room
As your self-practice evolves, you may find yourself working towards apex asanas, and more complex
movements. There may come a period of time when you start to set a more rigid routine and structure around your self-practice; this is not necessarily a detracting factor, stability to ensure growth can be extremely beneficial. That being said, always come back to your initial intention for nurturing a self-practice (hint: the word SELF). Always allow your practice to be what you need in that moment, try to let go of expectations and preconceived notions around what your sequence needs to look like, and what poses or movements you need to focus in on. Some days, your self-practice sequence is going to be a 45 minute savasana or body scan. And that’s okay. Allow yourself to accept that elusive quality, and use it as an opportunity to develop a better relationship with yourself. Enjoy the journey that this practice let’s you embark upon, and try to see even the most frustrating of obstacles as chances to seek new routes of ascension along the path.

Growing up with a background in competitive figure skating, Cass’ journey with yoga began at a young age. What started as a way of maintaining flexibility and mobility has since shifted to focus on building strength, by combining elements of functional movement into her practice and sequencing, helping to explore the different ways in which each individual’s body moves and changes shape. Since completing Octopus Garden’s 200 hour teacher training, and Rishikesh Yog Peeth’s 300 hour advanced teacher training program, Cass has pursued Barre and Pilates certifications through Stott Pilates, along with Essentrics movement training. The most important thing she’s discovered along the way is that you’re always a student – be curious, always question, carefully analyze, and continuously seek new avenues towards unexpected answers. ‘Yoga is the journey from cosmetic to cosmic beauty.’


